The Complete Guide to Removing Welds With Carbide Burrs
Removing welds can slow down your project if you don’t have the right approach. Using carbide burrs lets you cut through welds faster, but picking the wrong burr or technique can leave you frustrated. This guide breaks down how to remove welds with carbide burrs safely and cleanly, so you get smooth results without damaging your metalwork. For more insights, check out this guide to safe weld removal methods.
Essential Tools and Materials
Before you can start removing welds, you’ll need the right tools and setup. This section covers what you need to get started.
Key Metalworking Tools
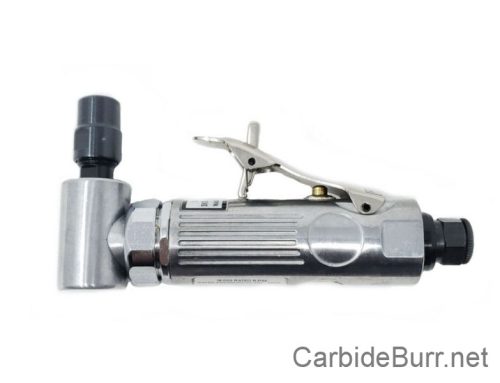
To effectively remove welds, having the right metalworking tools is crucial. Start with a reliable die grinder, which provides the power necessary for cutting through tough welds. A sturdy workbench is also important, as it offers a stable surface for precise work. Additionally, you’ll need a set of clamps to hold your metal securely in place, ensuring safety and accuracy. Don’t forget safety gear: goggles, gloves, and masks protect you from metal shards and dust.
Choosing the Right Carbide Burrs
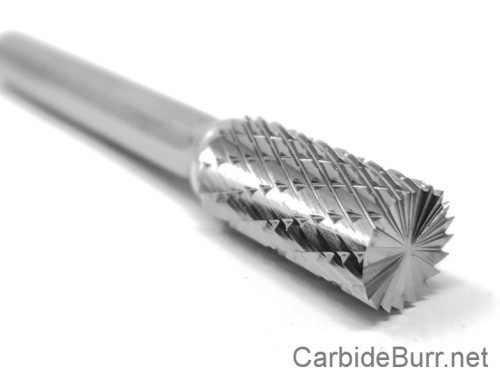
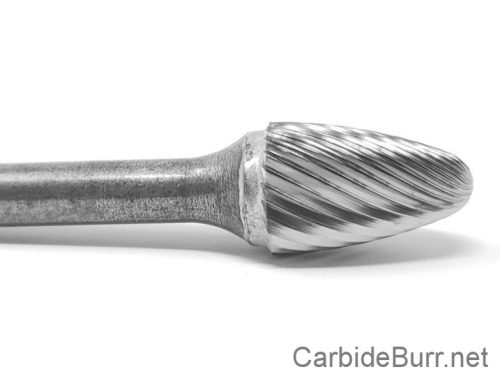
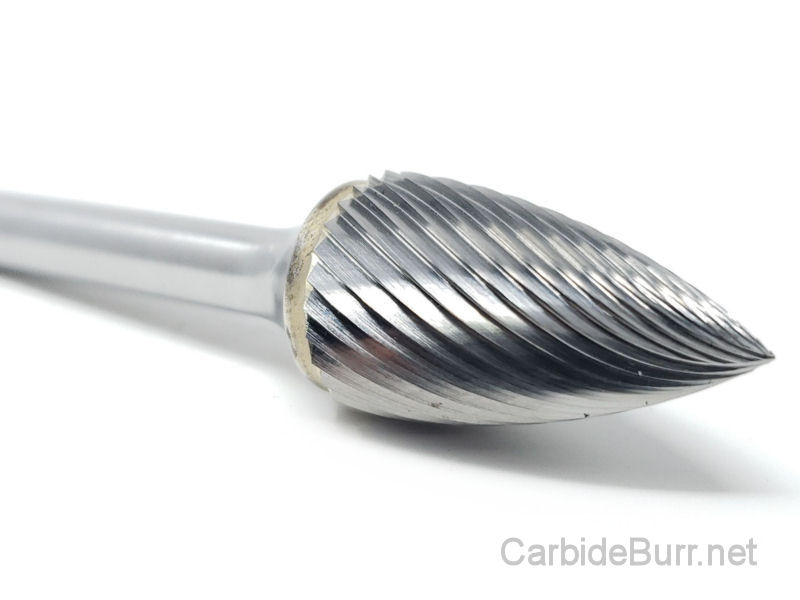
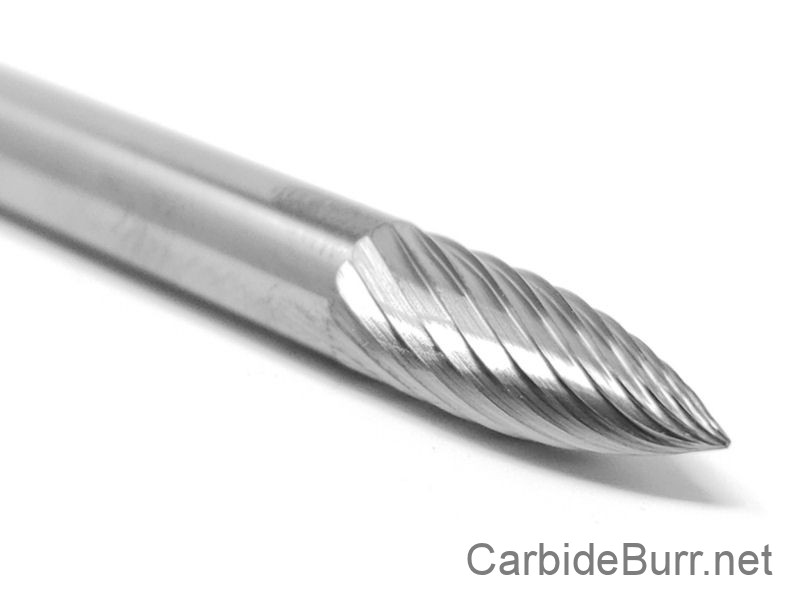
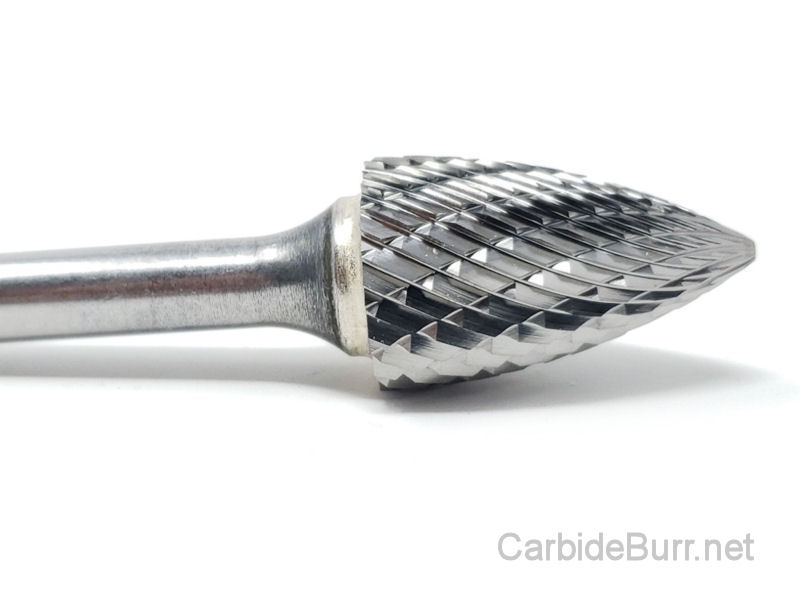
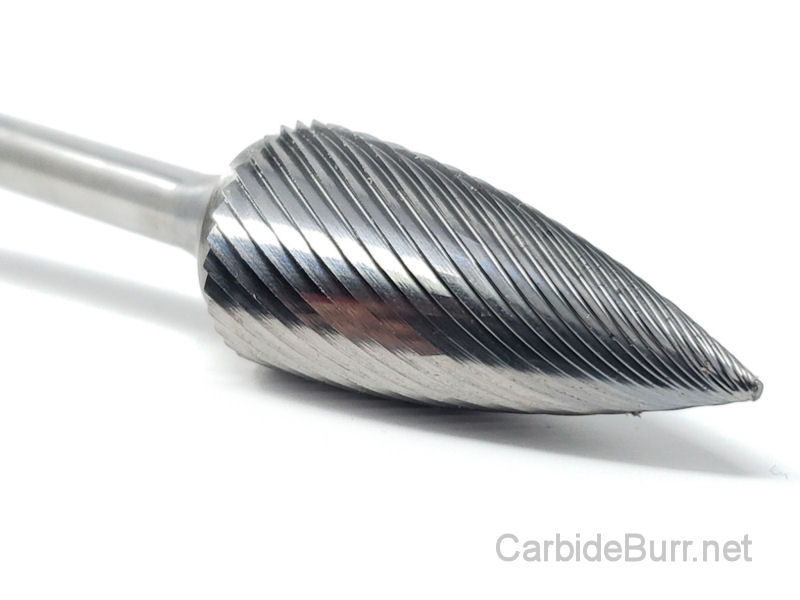
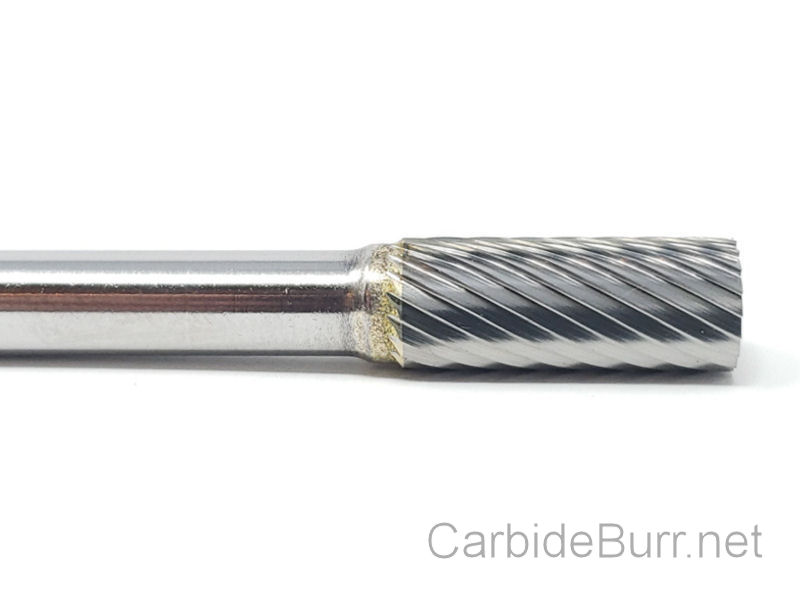
Carbide burrs are essential for grinding down welds, but selecting the right ones can be tricky. Burrs come in various shapes and sizes, each designed for specific tasks. Cylindrical burrs are great for flat surfaces, while conical burrs work best in tight spots. When choosing burrs, consider the hardness of your metal. Harder metals require tougher burrs to prevent wear and tear. Selecting the appropriate burr ensures a smoother, quicker process.
Preparing Your Workspace
A well-prepared workspace makes weld removal more efficient. Clear your area of any debris that might get in the way. Good lighting is crucial; it helps you see the welds clearly and prevents mistakes. Organize your tools within easy reach to minimize downtime during the process. Keep a vacuum or dust collector handy to clean up metal shavings immediately, maintaining a safe environment.
Selecting the Right Burr Shape
Choosing the correct burr shape for your weld type is critical. It impacts the quality and speed of your work.

Match Burr to Weld Type
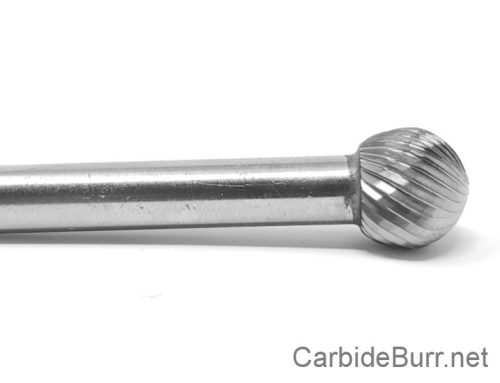
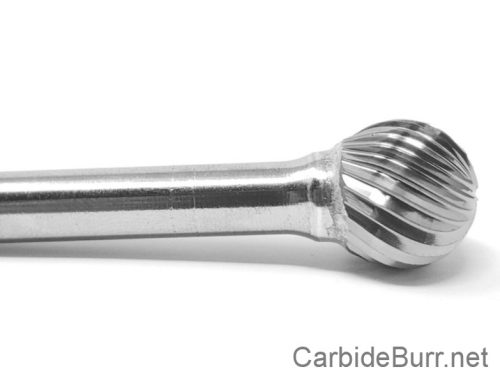
To match burrs to weld types, inspect the weld’s shape and size. Straight welds on flat surfaces pair well with cylindrical burrs, allowing even grinding. For curved or tight areas, spherical or oval-shaped burrs excel as they adapt better to uneven surfaces. Matching the burr to your weld type increases efficiency and reduces the risk of damaging your metalwork.
Common Burr Sizes Explained
Understanding burr sizes is key to a smooth weld removal process. Common sizes range from small (1/8 inch) to large (1/4 inch). Smaller burrs are ideal for delicate work or tight spaces, while larger burrs remove more material quickly. Knowing when to use each size ensures a balance between speed and precision. Always start with a size that matches the scale of your weld for the best results.
Specialty Burrs for Unique Welds
Sometimes, standard burrs won’t cut it, and you need something more specialized. Double-cut burrs offer extra aggression for tougher welds, while single-cut burrs provide smoother finishes. For intricate designs, consider using a diamond burr, known for its precision. Exploring specialty burrs can solve unique challenges, giving you more control over your metalwork.
Step-by-Step Weld Removal
Now that you have the right tools and setup, let’s dive into the step-by-step process of removing welds effectively.
Setting Up for Grinding Welds
Before grinding, ensure everything is in place. Secure your metal piece with clamps to prevent movement. Attach the correct burr to your die grinder. Double-check your safety gear: goggles, gloves, and a mask are non-negotiable. Set your grinder to the appropriate speed; too fast can damage the metal, while too slow might take forever.
Techniques for Effective Weld Removal
Start by placing the burr at the weld’s edge. Apply gentle pressure, letting the burr do the work. Move along the weld in a consistent motion, avoiding sudden changes in direction. This keeps the grind even and prevents gouging. Take breaks to inspect your progress and adjust as needed. This method ensures a clean removal with minimal effort.
Finishing the Surface
After removing the weld, focus on finishing the surface. Use a finer grit burr to smooth out any rough edges left behind. Work in small sections, checking for an even finish. If necessary, switch to sandpaper or a polishing wheel for a satin-like finish. A well-finished surface not only looks good but is also ready for any further processing or painting.
Safety and Aftercare
Safety and aftercare are as important as the weld removal itself. Proper precautions and maintenance ensure long-lasting results.
Safety Tips for Metalworking
Safety is paramount in metalworking. Always wear protective gear: goggles shield your eyes from flying debris, gloves protect your hands, and masks prevent inhalation of harmful dust. Keep your workspace organized to avoid accidents. Never rush the process; working patiently reduces the risk of injury and mistakes. Following these tips keeps you safe and productive.
Maintaining Your Carbide Burrs
Proper maintenance of your carbide burrs extends their life and performance. After each use, clean them with a wire brush to remove metal buildup. Store burrs in a dry place to prevent rusting. Inspect regularly for wear and replace them as needed to ensure they work efficiently. Caring for your tools keeps them ready for future projects.
Preserving Base Material Integrity
While removing welds, it’s crucial to preserve the integrity of your base material. Avoid excessive pressure that could thin out or damage the metal. Inspect the surface for any signs of overheating, which can weaken the material. Keeping the base material intact ensures your piece remains strong and durable.
Achieving Smooth, Ready Surfaces
The final step is achieving a surface that’s smooth and ready for finishing processes.
Evaluating Surface Quality
Once you’ve removed the weld and finished the surface, evaluate the quality. Run your fingers over the area to check for smoothness. Look for any remaining imperfections or rough spots. If needed, repeat the finishing process until you’re satisfied. A thorough evaluation ensures a top-quality finish.
Preparing for Finishing Processes
With a smooth surface, you’re ready for finishing processes. Whether it’s painting, coating, or polishing, ensure the surface is clean and free from dust. Proper preparation enhances the adhesion and appearance of any finish you apply. This step seals your work, giving it a professional look.
Long-Term Care and Maintenance
Long-term care of your metalwork ensures longevity. Regularly inspect your pieces for signs of wear or damage. Keep finished surfaces clean and protected from moisture. Periodically reapply protective coatings to maintain the finish. A little maintenance goes a long way in preserving the quality of your work.
Frequently Asked Questions
How do I choose the right carbide burr for weld removal?
When selecting a carbide burr, consider the type of weld and the hardness of the metal. Cylindrical burrs are best for flat surfaces, while conical burrs work well in tight spots. Choosing the right burr ensures effective weld removal.
What safety gear is essential for grinding welds?
Essential safety gear includes goggles to protect your eyes, gloves for hand safety, and a mask to prevent inhalation of metal dust. Safety gear is crucial in preventing injuries during metalworking.
How do I maintain my carbide burrs?
To maintain carbide burrs, clean them with a wire brush after each use to remove metal debris. Store them in a dry place to prevent rust, and inspect them regularly for wear. Proper maintenance extends their life and keeps them efficient.
What should I do if the base material gets damaged during weld removal?
If the base material gets damaged, assess the extent of the damage. For minor scratches, use finer grit burrs or sandpaper to smooth them out. For deeper damage, you might need to weld and grind again. Preserving the base material is key to a successful weld removal.
Can I use the same techniques for all types of metal?
While the basic techniques remain the same, different metals might require adjustments in pressure, burr type, and grinding speed. Always consider the specific properties of the metal you’re working with to ensure optimal results.
Follow Us On Social Media for Special Coupons
Facebook – Twitter – Instagram – Youtube
Carbide Burrs on 1/4″ Shanks – Solid Carbide Burrs – 1/4″ Carbide Burrs on 1/8″ Shanks – Long Shank Carbide Burrs – NF Carbide Burrs – Carbide Burr Sets – End Mills – Accessories
Order Tracking – Dropship Carbide Burr Tools – Contact Us – Cut Options – Coupon Codes – Posts
(513) 899-2610
PO Box 197 – Morrow Ohio 45152